Getting Started With Gutenberg: The New Editor For WordPress

WordPress launched a major update in December, replacing the Classic editor that we’ve used since the beginning with a new editor called Gutenberg. Gutenberg completely changes how we edit posts and pages in the WordPress admin panel, and uses a new system that’s based on something called blocks. Gutenberg is definitely different and will take some getting used to, but it allows for a lot more flexibility and customization straight out of the box. So let’s get started on learning more about Gutenberg and how to use it!
Learning About Blocks
Gutenberg uses a block system to build everything in Posts and Pages. Here’s a visual to show you what it looked like while editing a post in the Classic Editor, and what it looks like now in the Gutenberg Editor.
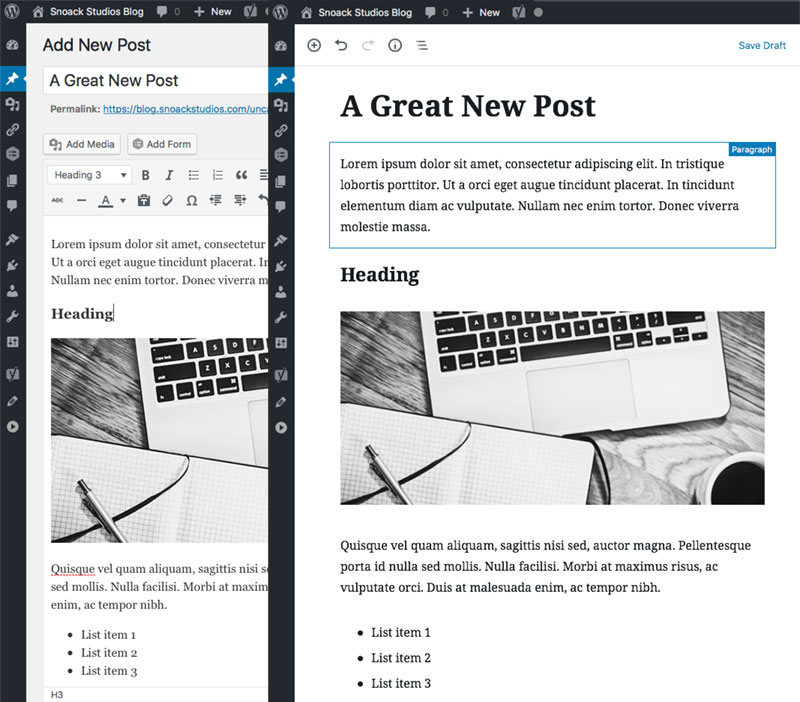
Everything on one page used to be in one box: text, headings, images, everything! Now, it’s all separated out into separate blocks – each of the items above are in their own block: page title, paragraph, heading, image, 2nd paragraph, and list, those are all separate blocks.
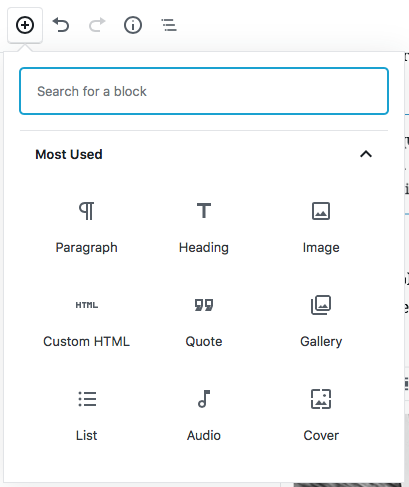
There are tons of built-in block types: paragraphs, headings, images, lists, files, columns, buttons, YouTube embed code, etc.
Adding, positioning and changing a block
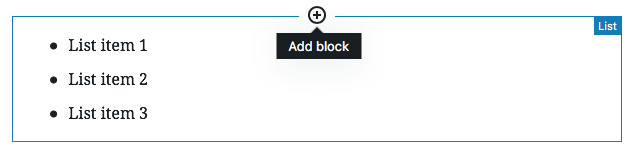
You can add a new block by simply hitting return in the post and a paragraph block will appear by default. You can also click on the small plus sign in the top left corner, or you can hover over the top of any of the current blocks and a plus sign will appear that you can click to add a new one right there.
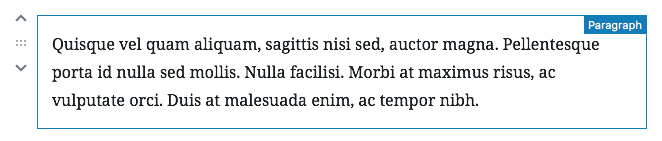
Once you add a new block, hover over it near the left side and you’ll see up and down arrows with dotted lines in the middle that appear on the left side of the block – these allow you to drag the block to the place you want within the page or post.
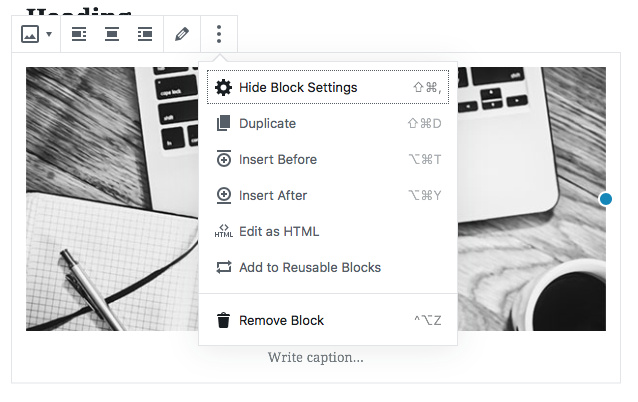
You can delete a block by hovering over it, clicking on the button on the right side with the 3 dots, and choosing Remove Block.
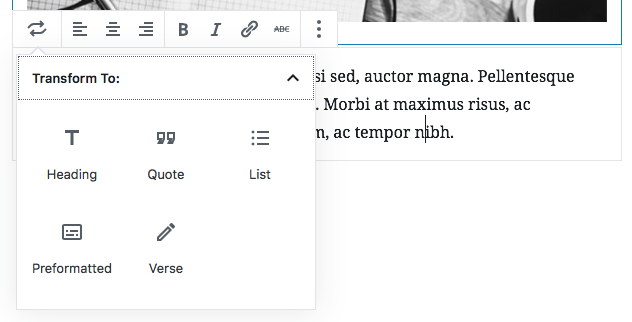
You can also change a block type once you’ve added it. If you’ve added a paragraph block and want to change it to a heading block instead, click on the block and a row of editing tools will appear at the top. Click on the button on the left side, and choose a new block type from the dropdown list.
Learn More
Hopefully this post gave you a great first look at the new editor and how to use it. We always suggest getting in there and learning more by playing around with it, that will be the best way to get you more familiar with the new layout and how to use blocks. We would be happy to walk you through it on a one-on-one basis too, so let us know if you’d like to set up some training time.
There are also lots of tutorials all over the web, which are growing in numbers by the day! Here’s a great video that walks you through using Gutenberg and here’s another post that has a lot of screenshots and walks through a lot of different types of blocks and how to use them.
As always, we would love to help answer any questions you have, so get in touch with us today. Gutenberg is a great advancement for the WordPress community, we’re excited to see where it takes us!
0 Comments »
No comments yet.
RSS feed for comments on this post. TrackBack URI